
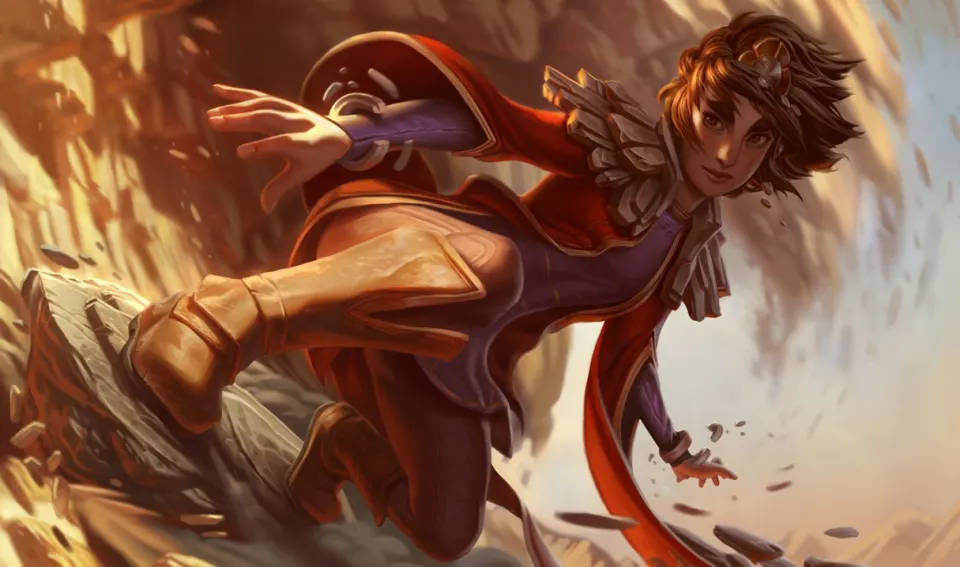
01 / Taliyah
At a glance
Learn Taliyah abilities and prepare your first games. Find builds for each supported role.
02
Strengths & weaknesses
Tools to play around
- Threaded VolleyCan slow a target to prepare the next action.
- Seismic ShoveAdds a utility effect to the champion’s kit.
What can go wrong
- Threaded VolleyUse the slow to make the next action easier. It does not replace checking distance, cooldowns and an escape route.
- Seismic ShoveRead the effect and its conditions, then practise it alone. Build your sequence around the effect you can reliably reproduce.
- A completed combo is only useful when your position, resources and follow-up are safe.
03
Abilities & tips
Open an ability to read its effect and a practical use tip.
 PRock Surfing
Taliyah gains Move Speed near walls.
Read the effect and its conditions, then practise it alone. Build your sequence around the effect you can reliably reproduce.
 QThreaded Volley
Taliyah throws a volley of rocks in a target direction, moving freely as she casts. This creates Worked Ground below her. If Taliyah casts Threaded Volley on Worked Ground, she consumes the ground to throw a stronger boulder that slows enemies.
Use the slow to make the next action easier. It does not replace checking distance, cooldowns and an escape route.
 WSeismic Shove
Taliyah causes an area of ground to erupt and throws enemies within it in a direction of her choosing.
Read the effect and its conditions, then practise it alone. Build your sequence around the effect you can reliably reproduce.
 EUnraveled Earth
Taliyah creates a slowing minefield. If enemies dash through it or are knocked through it, the mines explode and stun them.
Read the effect and its conditions, then practise it alone. Build your sequence around the effect you can reliably reproduce.
 RWeaver's Wall
Taliyah creates a very long wall and then surfs it.
Read the effect and its conditions, then practise it alone. Build your sequence around the effect you can reliably reproduce.
Taliyah combos: execution and timing
AA = basic attack · EAA = empowered attack · 1/2/3 = cast stage. Follow the order, not instant key presses.
Follow up with Unraveled Earth
- E
- W
- Q
With Taliyah, start with Unraveled Earth, then continue through Seismic Shove → Threaded Volley. Place Unraveled Earth before Seismic Shove, then choose the displacement direction that sends the target through the stones.
05
Game plan by role
Taliyah · Mid
Use the wave to control when trades happen. Keep a defensive option if the opposing jungler is missing, and avoid forcing a combo into a large enemy wave.
Move after checking the wave, vision and who can follow. A useful roam should not cost several uncontested waves for no clear opportunity.
Fight from a position where you can repeat your useful spells. Look for an opening after enemy control is spent instead of entering first by habit.
Before your next fight, check: Threaded Volley · Weaver's Wall · Combos
Taliyah · Jungle
Practise a repeatable clear before adding risky invades. Check nearby lane positions before entering the river or committing to a gank.
Prepare objectives by resetting, checking vision and moving with nearby allies. Avoid starting an objective solely because it has spawned.
Keep Smite and your escape plan in mind around contested objectives. Choose between engaging, covering a carry and keeping access to the objective.
Before your next fight, check: Threaded Volley · Weaver's Wall · Combos
06
Matchup preparation
Compare opponents in the build for the role you are actually playing. Then check their key control, escape and defensive spells before choosing your trade.
07
Practice checklist
- Cast each ability alone and identify its range, target conditions and stopping point.
- Practise the first sequence slowly. Repeat it while moving, without skipping the conditions shown on its card.
- After each attempt, identify the spell you would still have available to defend or retreat.
08
Taliyah · Builds & runes
Choose a role, then select your rank on the build page for runes, items, skill order and matchup statistics.