
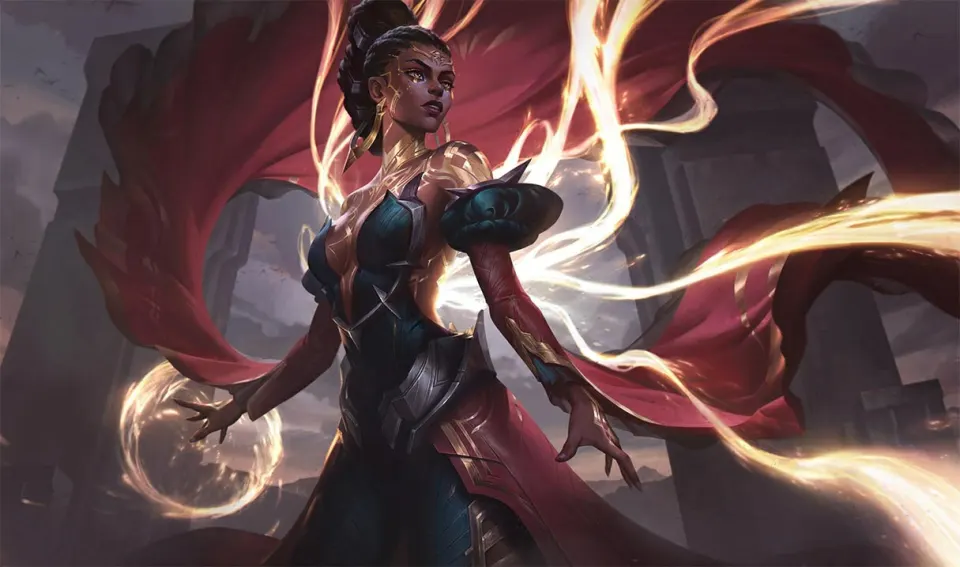
01 / Mel
At a glance
Learn Mel abilities and prepare your first games. Find builds for each supported role.
02
Strengths & weaknesses
Tools to play around
- Radiant VolleyContributes damage to the champion’s rotation.
- Solar SnareCan slow a target to prepare the next action.
What can go wrong
- Radiant VolleyPractise the hit area and target conditions first. Do not spend the rest of your rotation automatically when the opening damage misses.
- Solar SnareUse the slow to make the next action easier. It does not replace checking distance, cooldowns and an escape route.
- A completed combo is only useful when your position, resources and follow-up are safe.
03
Abilities & tips
Open an ability to read its effect and a practical use tip.
 PSearing Brilliance
Whenever Mel uses an ability, she gains three bonus projectiles (up to nine maximum) on her next attack. When Mel deals damage through an ability or attack, she applies Overwhelm, which can stack infinitely. If the enemy is hit by Mel with enough Overwhelm damage, the stacks are consumed to execute the target.
Practise the hit area and target conditions first. Do not spend the rest of your rotation automatically when the opening damage misses.
 QRadiant Volley
Mel fires a barrage of projectiles that explode around a target location, dealing damage repeatedly to enemies within the area.
Practise the hit area and target conditions first. Do not spend the rest of your rotation automatically when the opening damage misses.
 WRebuttal
Mel forms a barrier around herself that reflects enemy projectiles back at the attacker, prevents her from taking damage, and grants her movement speed.
Practise the hit area and target conditions first. Do not spend the rest of your rotation automatically when the opening damage misses.
 ESolar Snare
Mel fires a radiant orb forward, rooting those at its center while the area around it slows enemies and deals damage over time.
Use the slow to make the next action easier. It does not replace checking distance, cooldowns and an escape route.
 RGolden Eclipse
Mel strikes all enemies marked with Overwhelm regardless of their distance from her, dealing additional damage for each stack of Overwhelm. Ranks of Golden Eclipse increase Overwhelm's damage.
Practise the hit area and target conditions first. Do not spend the rest of your rotation automatically when the opening damage misses.
Mel combos: execution and timing
AA = basic attack · EAA = empowered attack · 1/2/3 = cast stage. Follow the order, not instant key presses.
Include Golden Eclipse in the rotation
- Q
- AA
- W
- AA
- E
- AA
- AA
- Q
- R
With Mel, start with Radiant Volley, then continue through Basic attack → Rebuttal → Basic attack → Solar Snare → Basic attack → Basic attack → Radiant Volley → Golden Eclipse. Alternate the shown spells and attacks to use Searing Brilliance. Check that each attack lands rather than pressing the whole sequence at once.
Include Golden Eclipse in the rotation
- E
- AA
- Q
- AA
- W
- AA
- AA
- AA
- Q
- R
With Mel, start with Solar Snare, then continue through Basic attack → Radiant Volley → Basic attack → Rebuttal → Basic attack → Basic attack → Basic attack → Radiant Volley → Golden Eclipse. Alternate the shown spells and attacks to use Searing Brilliance. Check that each attack lands rather than pressing the whole sequence at once.
05
Game plan by role
Mel · Mid
Use the wave to control when trades happen. Keep a defensive option if the opposing jungler is missing, and avoid forcing a combo into a large enemy wave.
Move after checking the wave, vision and who can follow. A useful roam should not cost several uncontested waves for no clear opportunity.
Fight from a position where you can repeat your useful spells. Look for an opening after enemy control is spent instead of entering first by habit.
Before your next fight, check: Radiant Volley · Golden Eclipse · Combos
Mel · Bot
Coordinate trades with your support and keep last hits consistent. Stand where you can attack without stepping into both enemy players’ threat range.
Collect safe farm while staying close enough to join your team. Check the map before crossing an exposed side lane for one more wave.
Keep dealing damage to an accessible target while tracking enemy engage tools. A safer sustained position is often better than chasing a distant carry.
Before your next fight, check: Radiant Volley · Golden Eclipse · Combos
Mel · Support
Stand where you can help your lane partner without exposing both of you. Coordinate the opening before spending your main control or protection.
Set up vision with nearby allies rather than walking into unlit areas alone. Roam when your lane partner can safely handle the next wave.
Choose between creating an opening and protecting the teammate who can carry the fight. Do not spend every defensive spell on the first visible enemy.
Before your next fight, check: Radiant Volley · Golden Eclipse · Combos
06
Matchup preparation
Compare opponents in the build for the role you are actually playing. Then check their key control, escape and defensive spells before choosing your trade.
07
Practice checklist
- Cast each ability alone and identify its range, target conditions and stopping point.
- Practise the first sequence slowly. Repeat it while moving, without skipping the conditions shown on its card.
- After each attempt, identify the spell you would still have available to defend or retreat.
08
Mel · Builds & runes
Choose a role, then select your rank on the build page for runes, items, skill order and matchup statistics.